4.8 KiB
DIY-Multiprotocol-TX-Module
Multiprotocol is a TX module which enables any TX to control lot of different models available on the market.
##Compatible TX
###Using standard PPM output (trainer port) The multiprotocol TX module can be used on any TX with a trainer port.
Channels order is AETR by default but can be changed in the source code.
The protocol selection is done via a dip switch or a rotary dip switch for access to up to 15 different protocols. The selection must be done before the power is applied.
To bind a model press the bind button, apply power and then release.
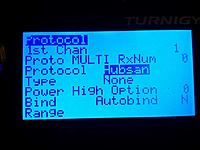
###Using a serial output The multiprotocol TX module can be used on a Turnigy 9X, 9XR, 9XR Pro, Taranis, ... running er9x or ersky9X. (A version for OpenTX is being looked at)
Channels order is AETR by default but can be changed in the source code.
This enables full integration using the radio GUI to setup models with all the available protocols options.
Options are:
- Protocol and type: many main protocols have variants
- RX Num: number your different RXs and make sure only one model will react to the commands
- Power: High or low, enables to lower the power setting of your TX (indoor for example).
- Option: -127..+127 allowing to set specific protocol options. Like for Hubsan to set the video frequency.
- Bind: bind a RX/model
- Autobind: Yes or No. At the model selection (or power applied to the TX) a bind sequence will be initiated
- Range: test range by setting the transmission power to the lowest value
##Hardware
###RF modules Up to 4 RF modules can be installed:
- A7105 for Flysky, Hubsan
- CC2500 for Frsky
- CYRF6936 for DSM2, DSMX, DEVO, Walkera
- NRF24L01 for Hisky, V2x2, CX-10, SYMAX and plenty other protocols
RF modules can be installed for protocols need only. Example: if you only need the Hubsan protocol then install only a A7105 on your board.
You also need some antennas and cables.
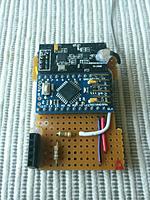
###Microcontroller The main program is running on a ATMEGA328 running @16MHz and 3.3V. An Arduino pro mini can be used to build your Multimodule:
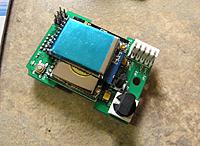
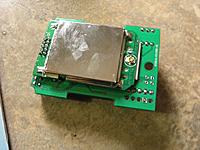
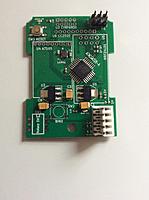
or build your own board using SMD components and an associated PCB:
###Schematic
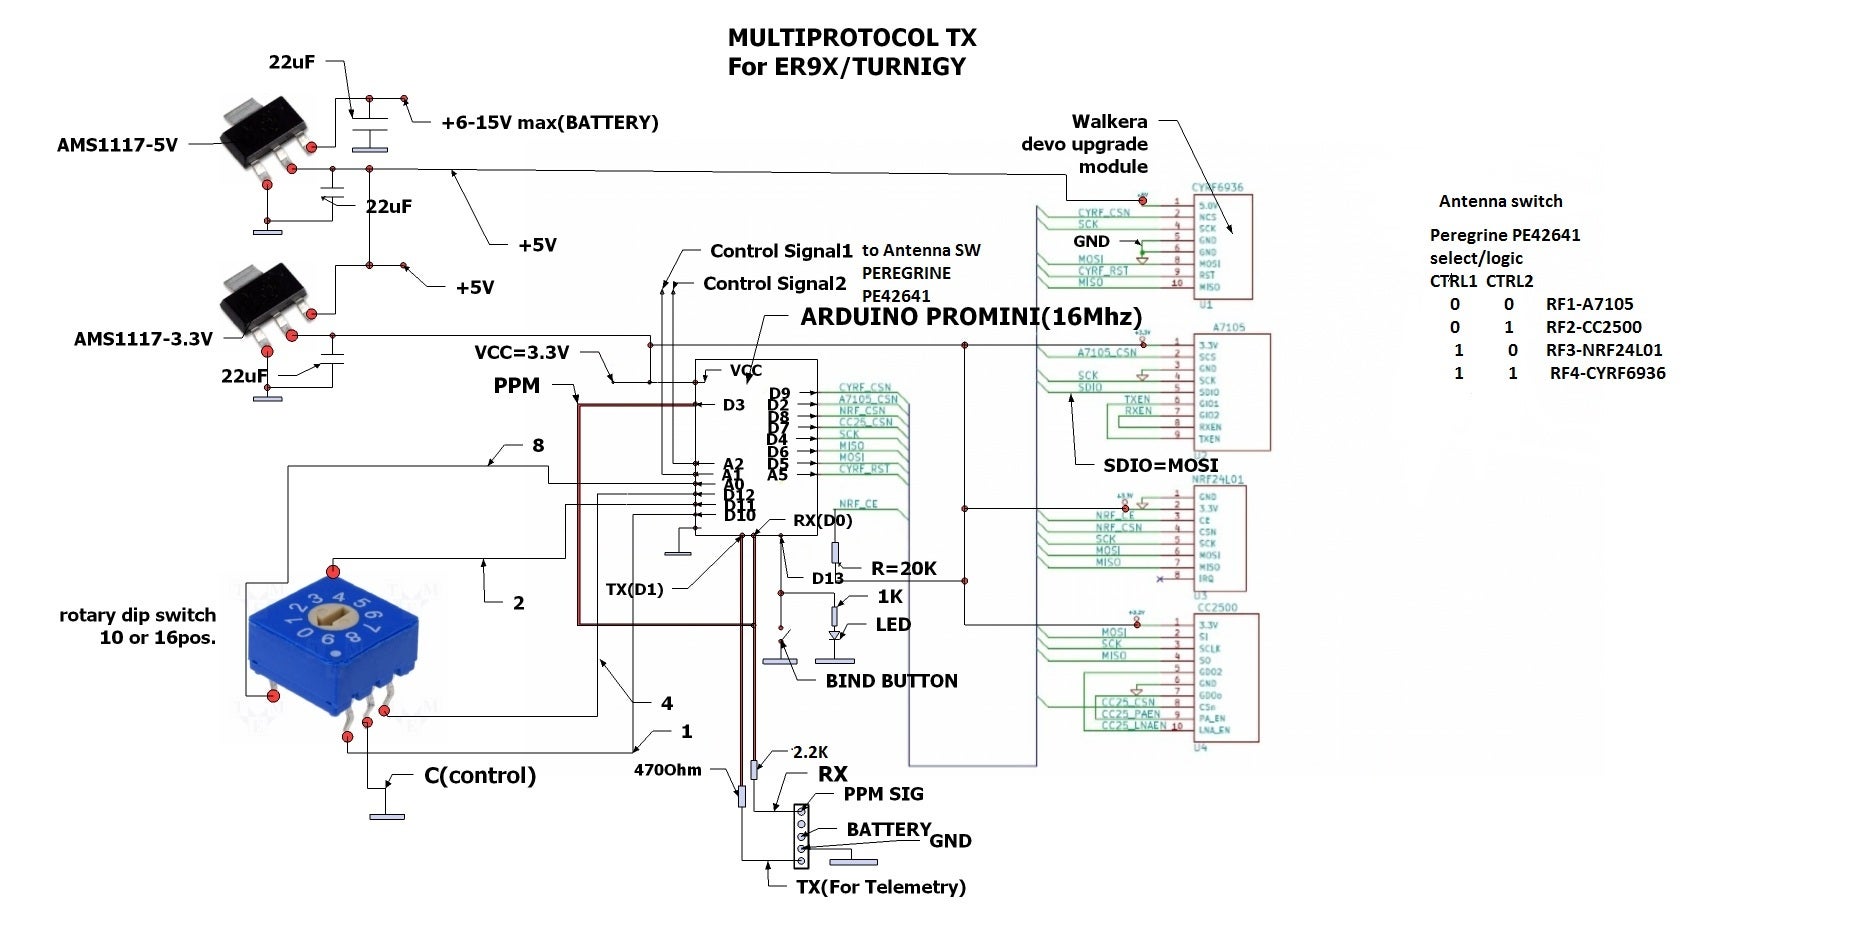 Attention: All modules are 3.3V only, never power them with 5V.
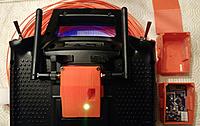
###Radio integration You can 3D print your box (detalis here):
##Compilation
###Toolchain Arduino 1.6.5.
###Upload the code using ISP (In System Programming) The recommendation is to use an external programmer like USBASP to upload the code in the Atmega328. The programmer should be set to 3.3V or to not supply any voltage to the multimodule to avoid any damages. From the Arduino environment, Skecth->Upload Using Programmer (Ctrl+Maj+U)
###Set fuses Use a tool like AVR Burn-O-Mat to set the fuses of the Atmega328 to:
- Low Fuse 0xFF
- High Fuse 0xD2
- Extended Fuse 0x05
